Bootstrap Radio Toggle
Introduction
Occasionally the compact details occur to be really the super necessary considering that the whole entire pic is definitely a all consisting of plenty of small components enhanced and collected for you to view and present just as a well-oiled bright machine. These kinds of powerful phrases might sound a little too much whenever it comes to form regulations however if you just think about it for a bit there is simply only a single feature letting the site visitor to grab one out of a few obtainable options. And so in the event that you are actually featuring several forms with this sort of selections controls over your various web sites does this guarantee they are going to all look identical? And most essentially-- would you choose that?
Luckily for us the latest edition of one of the most popular mobile phone friendly system - Bootstrap 4 comes completely loaded having a brilliant new concept to the responsive behavior of the Bootstrap Radio Button controls and what exactly is bright new for this version-- the so called custom-made form regulations-- a combination of predefined looks you can certainly just take and use for you to bring in the so wanted these days selection in the functional presentations of more or less boring form details. In this degree let's take a look the way the radio tabs are meant to be described and styled in Bootstrap 4. ( additional reading)
How you can put into action the Bootstrap radio button:
For you to generate a radio switch we primarily need a
<div>.form-check.form-check-inline.radio.radio-inline.disabledInside the
.form-check<label>.form-check-label<input>.form-check-inputtype = “radio”name = “ ~ same name for all the options ~ ”id = “ ~ unique ID ~ “value=” ~some value here ~ ”disabled<input>This is in addition the place to characterize if you want the radio control to initially load like checked the moment the webpage gets loaded. Supposing that this is really what you're looking for-- in place of
disabledchecked<input>checkedCheckbox and Bootstrap Radio Working examples
Bootstrap's
.button<label>data-toggle=" buttons".btn-groupNote that pre-checked buttons demand you to manually provide the
.active<label>Checkbox

<div class="btn-group" data-toggle="buttons">
  <label class="btn btn-primary active">
    <input type="checkbox" checked autocomplete="off"> Checkbox 1 (pre-checked)
  </label>
  <label class="btn btn-primary">
    <input type="checkbox" autocomplete="off"> Checkbox 2
  </label>
  <label class="btn btn-primary">
    <input type="checkbox" autocomplete="off"> Checkbox 3
  </label>
</div>
Radio

<div class="btn-group" data-toggle="buttons">
  <label class="btn btn-primary active">
    <input type="radio" name="options" id="option1" autocomplete="off" checked> Radio 1 (preselected)
  </label>
  <label class="btn btn-primary">
    <input type="radio" name="options" id="option2" autocomplete="off"> Radio 2
  </label>
  <label class="btn btn-primary">
    <input type="radio" name="options" id="option3" autocomplete="off"> Radio 3
  </label>
</div>
Radio button approach
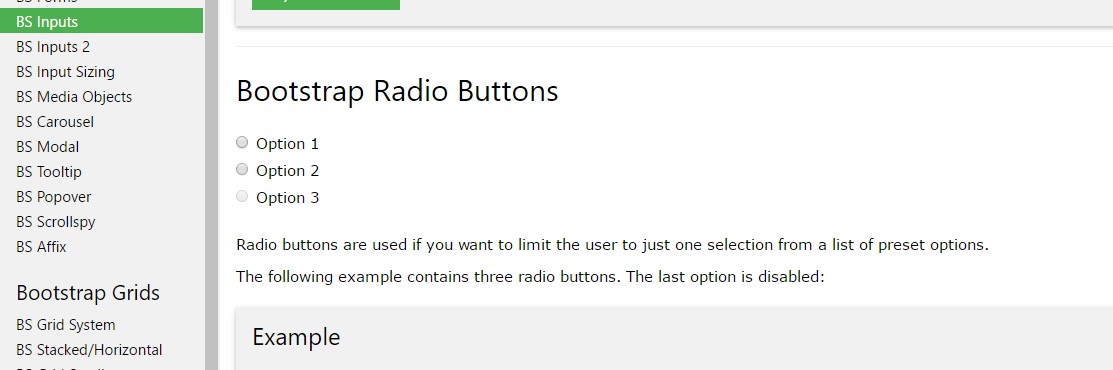
We can easily use input components of the radio form if we desire the user to select simply one of a variety of options. ( useful content)
Just one can surely be picked out when there is higher than a single component of this particular type with the identical value in the name attribute.

<div class="row">
  <div class="col-lg-6">
    <div class="input-group">
      <span class="input-group-addon">
        <input type="checkbox" aria-label="Checkbox for following text input">
      </span>
      <input type="text" class="form-control" aria-label="Text input with checkbox">
    </div>
  </div>
  <div class="col-lg-6">
    <div class="input-group">
      <span class="input-group-addon">
        <input type="radio" aria-label="Radio button for following text input">
      </span>
      <input type="text" class="form-control" aria-label="Text input with radio button">
    </div>
  </div>
</div>
Conclusions
Basically this is the solution the default radio tabs get defined and work throughout in Bootstrap 4-- right now all you require are several opportunities for the visitors to pick from.
Check out several youtube video information about Bootstrap Radio Button:
Related topics:
Bootstrap buttons approved documentation
Bootstrap Radio button - article
Checkbox radio buttons break entire toolbar styling
